What Year Harley Touring Seats Are Interchangeable: A Comprehensive Guide
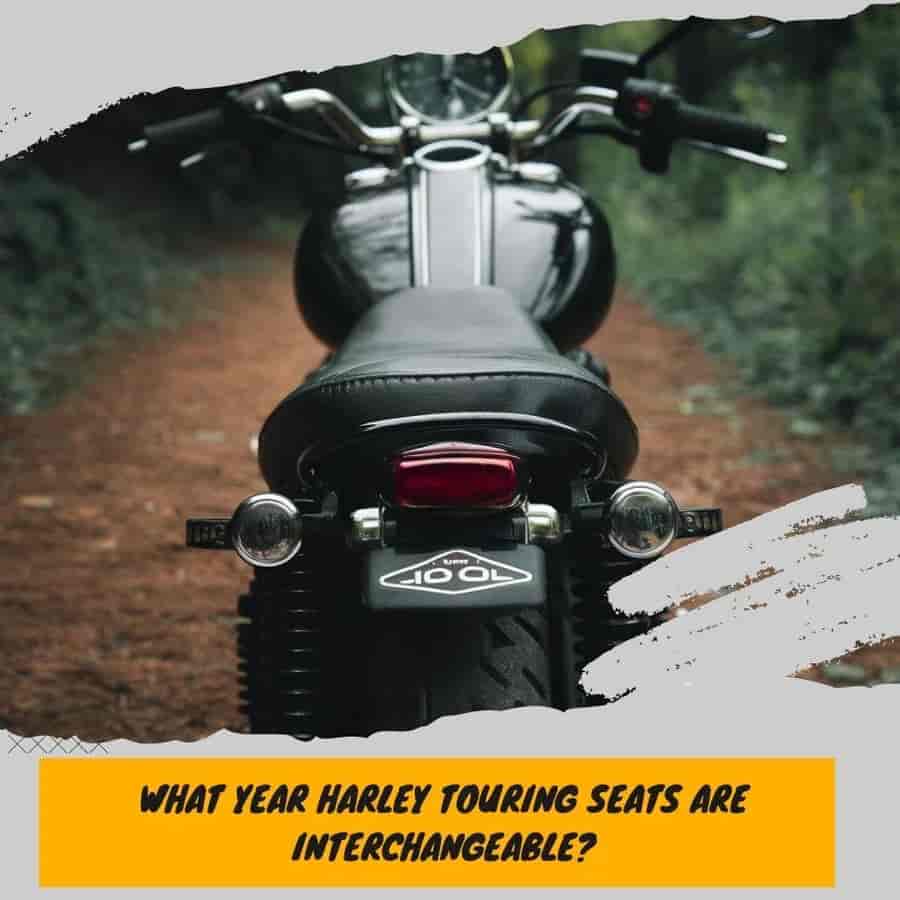
Harley-Davidson's touring motorcycles like the Road King, Street Glide, and Electra Glide are built for eating up the miles in comfort. A major component of that comfort is the seat, which serves as the critical interface between rider and machine during long days on the road.
That's why having the right seat for your body type and riding style is crucial to fully enjoying your touring bike.
The various Harley touring models come equipped with seats designed specifically for that bike's ergonomics and intended purpose.
For example, the Road King's standard seat prioritizes all-day comfort, while the Street Glide's seat is optimized for rider control during more aggressive riding.
However, variations in saddle height, shape, padding, and other factors mean that seats are not universally interchangeable across different models and model years.
Swapping touring seats or upgrading to aftermarket options can dramatically improve comfort, especially for long-distance, multi-day rides. But it's important to understand the nuances of compatibility to ensure you get the right fit.
Harley Touring seats from 1997 to 2007 are generally interchangeable due to consistent design, but modifications are often needed for compatibility with models after the 2009 frame redesign.
This guide provides an in-depth look at which Harley touring seats can be interchanged by model and model year to unlock the full potential of your bike.
Harley Touring Seat Designs and Generations
Harley-Davidson's touring motorcycles have seen several generations of seats over the decades as new models were introduced and technologies advanced. Understanding the evolution of Harley's touring seats, as well as consulting a Harley Davidson seat fitment guide, is key to knowing which years are compatible.
The first major touring seat style appeared in the 1980s on models like the FLHTC Electra Glide Classic. These seats had a traditional look with minimal contours and basic foam padding.
They utilized a two-piece design with removable driver and passenger sections. Mounting hardware was simple with two tongue studs underneath.
In the late 1990s, Harley introduced the FLTR Road Glide model featuring a radically modern seat.
It had aggressive side bolsters to hold riders in place and used vacuum-bonded construction for more comfort. The Road Glide seat's stud pattern also changed, making it incompatible with earlier models.
The Project RUSHMORE overhaul in 2014 brought the next generation of Harley touring seats. Key upgrades included thicker foam, improved vibration damping, and more options for adjustment.
These seats use stronger integrated mounts instead of studs for installation.
Identifying a Harley touring seat's generation mainly involves looking at the model year, stud locations, and design style. Knowing when major changes occurred helps narrow down interchangeability. With seats, newer is not always better in terms of fit and comfort.
Electra Glide Seat Compatibility
The Electra Glide is one of Harley-Davidson's most iconic touring motorcycles. Since its introduction in the 1960s, the Electra Glide has gone through several generations with regular updates. When it comes to seats, there are some important considerations for Electra Glide models:
1965-2013 Electra Glide Models
For the first five decades of the Electra Glide, seats were largely interchangeable between model years. As long as the mounting hardware matched up, seats from earlier generations could be installed on newer model years without issue.
There were incremental changes in styling, dimensions, and materials, but fundamentally the seats were swappable.
Key seat dimensions and mounting points remained consistent from 1965 until 2013. This gives Electra Glide owners a wide range of seat options to choose from. Vintage seats from the 60s, 70s, and 80s can work well for those seeking a retro look.
2014-Present Electra Glide Models
In 2014, Harley introduced the Rushmore frame for Electra Glide models. This brought significant changes to the seat dimensions and mounting system. As a result, Rushmore-era seats are only interchangeable with other 2014 and newer Electra Glides. They are not compatible with the seats from earlier generations without modification.
Owners of newer Electra Glides need to be mindful of this major change in seat compatibility. Purchasing a used pre-2014 seat will require adjustments to get proper mounting and fitment. Rushmore seats also have a different shape and ergonomics.
Electra Glide Variants
Within the Electra Glide family, models like the Ultra Classic, Ultra Limited, and Ultra Classic Low have the same seats across years. As long as the year is compatible, these variants can share seats.
However, the Electra Glide Trike models have unique seats to accommodate the rear suspension and bodywork. These are not interchangeable with standard Electra Glide seats.
Overall, verifying the model year and frame generation is crucial for Electra Glide seat selection. With the right information, riders can unlock decades of potential seat options.
Road King Seat Compatibility
The Road King is one of Harley-Davidson's most iconic touring motorcycles. This classic model is known for its retro styling and comfy riding position. When it comes to seats, Road Kings from 1996-2008 generally have interchangeable seats. However, Harley made some changes to the mounting systems starting in 2009 that affect compatibility.
Road King seats have some unique features that set them apart from seats on other touring models. Road Kings utilize a solo seat configuration, without a detachable backrest or passenger section.
The solo seat provides ample room for the rider to move around and change positions. Road King seats also sit lower than seats on models like the Electra Glide. This suits the bike's laidback ergonomics.
For Road Kings from 1996-2008, the seats have similar dimensions, foam thickness, and mounting points. So you can easily swap a Road King seat from a 1998 model onto a 2003 without issues. Just take care to transfer over any necessary mounting hardware.
Starting in 2009, Harley introduced a new seat mounting system for touring bikes. This means Road King seats from 2009-onward have different mounting points underneath. While seats may look and feel the same, don't expect a newer seat to bolt right onto an older frame.
When shopping for Road King seats, always double check the specific fitment. Many aftermarket options are designed for interchangeability across multiple years.
But some seats are model-year specific. So take your time to find the right seat guaranteed to fit your particular Road King's model year. With the right seat, you'll be cruising in comfort on this iconic Harley touring motorcycle.
Street Glide Seat Compatibility
The Street Glide is one of Harley-Davidson's most popular touring motorcycles known for its distinctive fairing and custom styling. When it comes to seats, Street Glide models have some unique characteristics compared to other touring bikes.
Street Glide seats from the following model years are interchangeable:
- 2006 to 2013
- 2014 to present
The key change happened in 2014 when Harley updated the Street Glide design and gave it a new frame and redesigned seat. This means seats from 2006-2013 models will directly swap, as will seats from 2014 models onwards. But seats from pre-2014 bikes won't work on 2014+ models and vice versa.
Within each generation, all Street Glide seats will fit across different model variants like Street Glide Special, Street Glide CVO, and Street Glide Trike models. So a 2010 Street Glide Special seat will fit on a 2011 base Street Glide model, for example.
Some differences to note compared to Road King and Electra Glide seats:
- Narrower profile shaped for the Street Glide's tank cutouts
- Contoured saddle with lower profile than Road King's flatter seat
- Integrated styling to match the Street Glide fairing and bodywork
- Often more padding and lumbar support due to lean-forward riding position
So while Street Glide seats share some common Harley mounting systems, their specialized shape and styling means they aren't directly interchangeable with other touring models. Always double check fitment before swapping a Street Glide seat onto another bike.
Aftermarket options like Corbin and Mustang do offer seats shaped specifically for the Street Glide across different model years. So upgrading to an aftermarket Street Glide seat is a great way to improve comfort while retaining the correct shape and fit.
Harley Davidson Seat Compatibility Chart
| Model Series | Year Range | Compatibility Notes |
|---|---|---|
| Electra Glide | 1965-2013 | Seats largely interchangeable within this range. Key dimensions and mounting points consistent. |
| 2014-present | Rushmore frame introduced, seats only interchangeable within this range. | |
| 1965-present | Variants: Ultra Classic, Ultra Limited, Ultra Classic Low. | |
| Various | Trike Models. | |
| Road King | 1996-2008 | Seats generally interchangeable within this range. |
| 2009-present | New seat mounting system introduced, not compatible with earlier years. | |
| Street Glide | 2006-2013 | Seats interchangeable within this range. |
| 2014-present | New design and frame, seats only interchangeable within this range. | |
| 2006-present | Variants: Street Glide Special, Street Glide CVO, Street Glide Trike. |
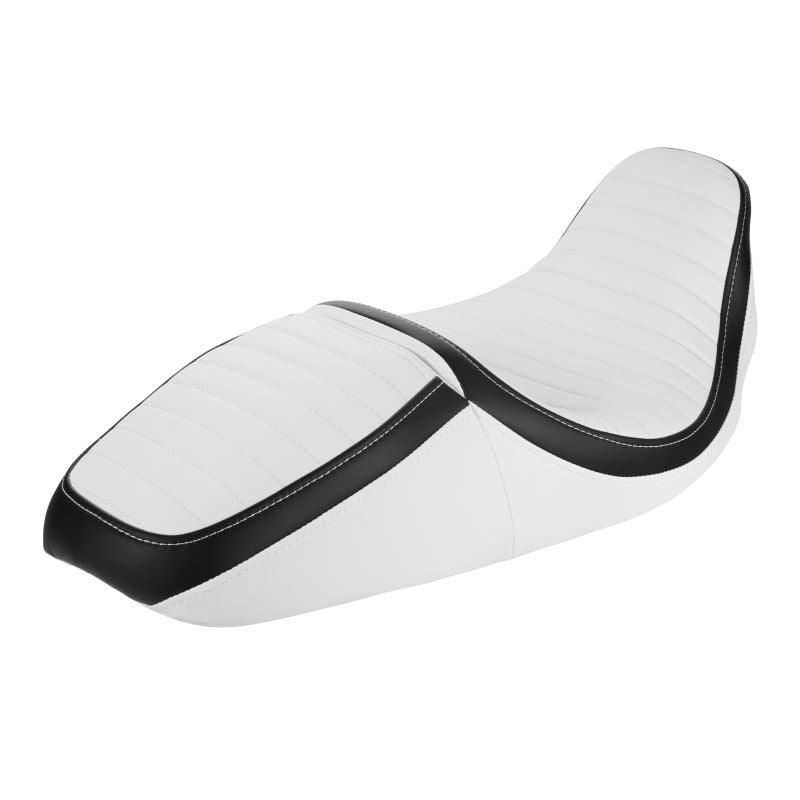
Aftermarket Touring Seat Options
Harley-Davidson owners looking to upgrade their stock seats have plenty of aftermarket options from companies that specialize in seats for touring bikes. These companies offer seats designed specifically for long-distance comfort on models like the Electra Glide, Road King, and Street Glide.
Benefits of Aftermarket Touring Seats
Upgrading to an aftermarket seat offers several advantages:
- Increased comfort: Aftermarket seats use higher quality foams and gel inserts to reduce pressure points. This makes long days on the road much more enjoyable.
- Customizable ergonomics: Companies offer different seat shapes, sizes, and riding positions to accommodate riders of all sizes.
- Enhanced styling: Aftermarket seats allow owners to customize the look of their bike with options like contrast stitching, unique materials, and eye-catching designs.
- Improved airflow: Many aftermarket seats feature strategically placed vents and breathable fabrics to keep riders cool on hot days.
- Durability: Premium components and sturdy construction give aftermarket seats greater longevity than stock OEM options.
With proper research and fitment confirmation, investing in an aftermarket touring seat can greatly enhance comfort and enjoyment for Harley road warriors.
If you're looking for a seat that goes beyond the limitations of interchangeable OEM options and caters to your individual needs, exploring the aftermarket selection is highly recommended.
Installing and Swapping Seats
Swapping out the stock seat or installing an aftermarket touring seat on your Harley-Davidson is a straightforward process, but having the right tools and following proper precautions will ensure a smooth installation.
Step 1: Remove the Seat
- Park the motorcycle on level ground and engage the sidestand for stability. Turn off the ignition.
- Use the key to unlock and remove the seat lock near the rear fender.
- At the front of the seat, gently pull up to release the tongue from the seat latch.
- Carefully lift and slide the seat rearwards to detach it from the bike.
For more info see : How to Remove Harley Seat
Step 2: Install New Seat
- Line up the tongue at the front of the new seat with the latch on the bike frame.
- Lower the seat gently into place, pushing down to fully insert the tongue. You'll hear a click when it engages.
- Slide the seat forward until it locks into place. Rock it back and forth lightly to confirm fitment.
- Reinstall the seat lock and key at the rear fender.
Recommended Tools
- Soft cloth or towel to protect paint
- WD-40 or lubricant for latches
- Flashlight to see latch mechanisms
Safety Tips
- Avoid pulling hard on the seat to prevent damage
- Be careful not to scratch or chip paint on the fender or frame
- Engage sidestand and turn off ignition before starting
- Get help lifting heavy aftermarket seats into place
You May Also Like: How to Install a Backrest on a Tour Pack
Optimizing Seat Comfort and Ergonomics
Finding the right seat for your Harley touring model is crucial for comfort during long rides. Beyond just model year compatibility, there are several factors that determine if a seat allows you to ride in a comfortable, ergonomic position:
Seat Padding
The foam padding inside the seat plays a major role in comfort. Seats with high-density foam provide support and reduce pressure points but can feel too firm initially. Softer, low-density foams cushion better but compress over time.
Dual-density foams offer a balance of softness and support. Memory foam touring seats mold to your shape.
Seat Shape and Dimensions
The contours of the seat should fit your anatomy without making contact in uncomfortable areas. The shape affects your riding posture - some seats position you more upright while others are tucked in.
Measure seat dimensions like width, length and height to find one suitable for your body. Narrower seats allow easier reach to the ground while wider ones provide more support.
Adjusting the Riding Position
You can tweak the ergonomics using aftermarket parts. Changing handlebar height and reducing reach are common adjustments. Lowering kits and shocks alter seat height. Moving the foot pegs and controls can relieve strain. Invest in a professional bike fitting session for major position changes.
Test ride seats thoroughly before committing to find the best match for your physique and riding style.
Break-in periods for stiffer foams may be needed. Prioritize long-term comfort over aesthetics when seat shopping. A perfectly compatible seat minimizes fatigue so you can focus on the open road.
Caring for and Maintaining Seats
Proper care and maintenance is crucial for maximizing the comfort and longevity of your Harley touring seat. Here are some tips:
Cleaning Leather and Vinyl Seats
- Use a specialty leather or vinyl cleaner and conditioner. Avoid household cleaners as they can damage and dry out the materials.
- For leather, apply cleaner with a soft cloth and gently wipe the seat. Use a second clean cloth to buff off any residue.
- For vinyl, use a vinyl protectant spray and wipe down the seat. Avoid saturating the seat.
- Spot clean any stains as soon as possible to prevent setting in. Avoid abrasives.
- Condition leather seats regularly, especially after cleaning. This keeps the leather supple.
- Vinyl can be dressed with a protectant spray 1-2 times per month for added protection.
Fixing Common Seat Issues
Sagging is a common problem with aging seats. Here are some fixes:
- Add a seat pan support. These support plates install under the seat pan to add rigidity.
- Use shims if the sag is localized. Shims physically lift low spots in the foam.
- Replace worn foam. In severe cases, new foam may be required to restore shape.
- Consider an aftermarket seat for increased support and less break-in sagging.
Cracks and rips in leather and vinyl can be repaired. Use adhesive patches and flexible filler to fix cracks. Small tears can be sewn and bonded. Reupholstery shops can handle more complex repairs.

Leave a comment