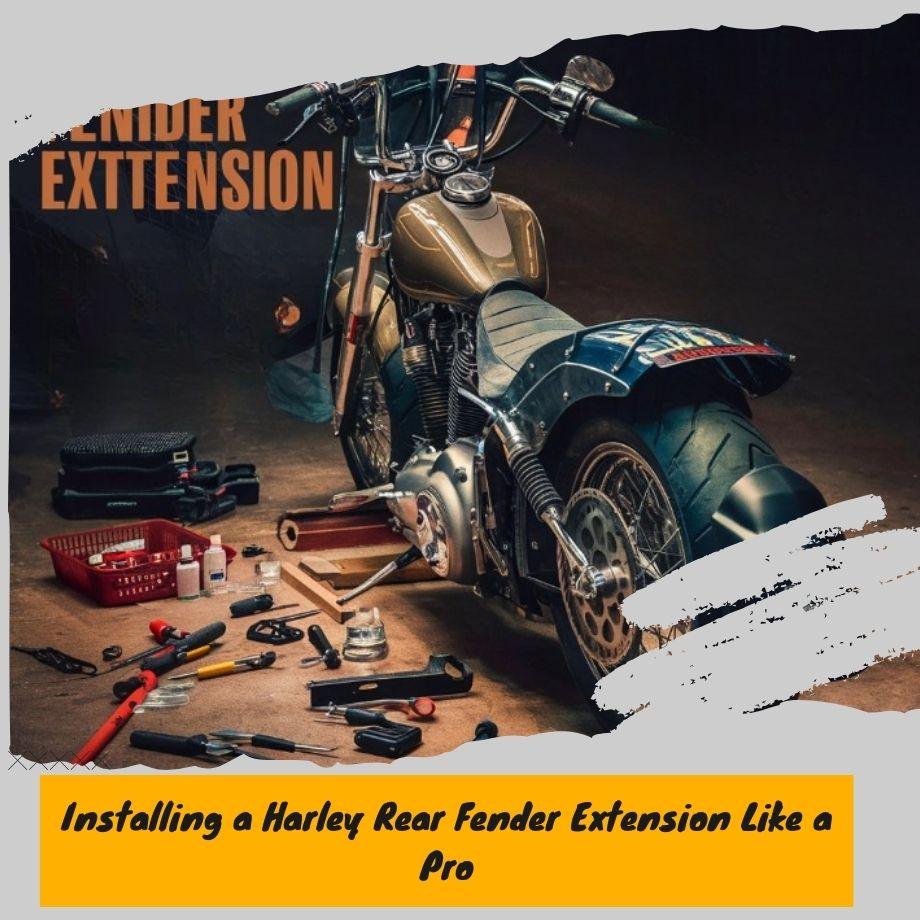
Rev Up Your Ride: Installing a Harley Rear Fender Extension Like a Pro
Looking to add a touch of custom flair and functionality to your motorcycle?
A rear fender extension is a popular upgrade that can enhance both the look and practicality of your Harley. Whether you're a seasoned mechanic or a weekend warrior, installing a fender extension is a manageable project that can be completed at home with the right tools and know-how.
In this guide, we'll walk you through the general process of installing a Harley rear fender extension, providing step-by-step instructions and helpful tips.
Remember, the specific steps may vary depending on your Harley model and the fender extension you choose. Always refer to the manufacturer's instructions for the most accurate information.
Before You Begin: Gather Your Tools and Supplies
- Socket wrench set: You'll likely need a variety of socket sizes depending on your specific fender extension.
- Torx screwdriver set: Many Harley components utilize Torx screws.
- Phillips head screwdriver: Just in case!
- Flashlight: For those hard-to-reach areas under the fender.
- Shop rags: For cleaning and wiping up spills.
- Electrical tape: For temporary holding wires in place (optional).
- Patience: Especially if you're new to working on your Harley.
You May Also Like: REPLACING THE BATWING FAIRING
Steps to Installing Your Harley Rear Fender Extension
STEP1:Park it Up and Prep the Bike
Safely park your Harley on a level surface and secure it with a kickstand or paddock stand. Turn off the engine, remove the keys, and disconnect the battery (consult your manual for proper battery disconnection procedures on your specific model).
STEP2:Remove the Existing Fender (if applicable)
Some fender extensions integrate with the stock fender, while others require complete removal. If yours needs to be removed, follow the manufacturer's instructions or refer to a service manual for your Harley model. Generally, this will involve locating and removing the screws that secure the fender to the struts and frame.
STEP3:Disconnect Electrical Components (if applicable)
Depending on your fender extension and taillight setup, you might need to disconnect some wires. Take pictures or make notes to ensure proper reconnection later.
STEP4:Position the New Fender Extension
Carefully align the extension with the mounting points on your Harley. Some fender extensions utilize the existing fender mounting holes, while others require drilling new ones (always check the manufacturer's instructions for drilling requirements).
STEP5:Secure the Fender Extension
Once aligned, hand-tighten the mounting bolts or screws. Refer to the manufacturer's recommendations for the proper tightening sequence and torque specifications.
STEP6:Reattach Electrical Components (if applicable)
Double-check your photos or notes and reconnect any electrical components you disconnected earlier.
STEP7:Reinstall Taillight and License Plate (if applicable)
Following the manufacturer's instructions or referring to your notes, reinstall your taillight and license plate on the new fender extension.
You May Also Like: CUSTOMIZING AND UPGRADING FIXED FAIRINGS
STEP8:Final Touches
Double-check that all bolts and screws are tightened securely. Inspect the wiring for any loose connections or pinched wires. Ensure your taillight and turn signals are functioning properly.
STEP9:Reconnect Battery and Take it for a Spin!
Reconnect your battery following the proper procedures outlined in your Harley's manual. Fire her up and take your Harley for a test ride, checking for any unusual sounds or vibrations.
Pro Tips for a Smooth Install
- Take your time: Don't rush the process. Double-check your connections and ensure everything is secure before buttoning it all up.
- Label your wires: Before disconnecting any electrical components, use masking tape and a pen to label the wires for easy reconnection.
- Work in a clean and well-lit space: This will help you see what you're doing and avoid mistakes.
- Consult a friend or mechanic: If you're unsure about any steps, don't hesitate to ask a friend with experience or consult a qualified Harley mechanic.
Enjoy the Ride!
With a successfully installed rear fender extension, you've not only enhanced the aesthetics of your Harley but potentially gained some extra storage space or improved mud protection. Now get out there and enjoy the ride!


Leave a comment