Improve Your Hog's Horns: Harley Davidson Antenna Upgrade Tips
What is a Harley Davidson Antenna?
A Harley Davidson antenna is a crucial component that allows riders to enjoy their favorite tunes, listen to traffic updates, and stay connected while cruising on their beloved bikes.
This unassuming piece of equipment plays a vital role in enhancing the overall riding experience by enabling seamless radio reception.
The antenna acts as a gateway, capturing radio waves from various broadcasting stations and transmitting them to the motorcycle's audio system.
Without a properly functioning antenna, riders would be left in silence, unable to indulge in the musical accompaniment that adds an extra layer of enjoyment to their journeys.
Beyond just providing entertainment, the Harley Davidson antenna also serves as a practical tool. It can receive important traffic and weather updates, ensuring riders stay informed and prepared for any potential obstacles or changes in conditions along their route.
This added awareness not only contributes to a more enjoyable ride but also promotes safer riding practices.
Moreover, the antenna's presence on a Harley Davidson motorcycle is a subtle nod to the brand's iconic style and attention to detail.
It seamlessly integrates into the overall design, complementing the sleek lines and rugged aesthetics that have become synonymous with these legendary bikes.
Types of Harley Davidson Antennas
Harley Davidson motorcycles come equipped with various types of antennas to ensure optimal radio reception and communication capabilities. The most common types include:
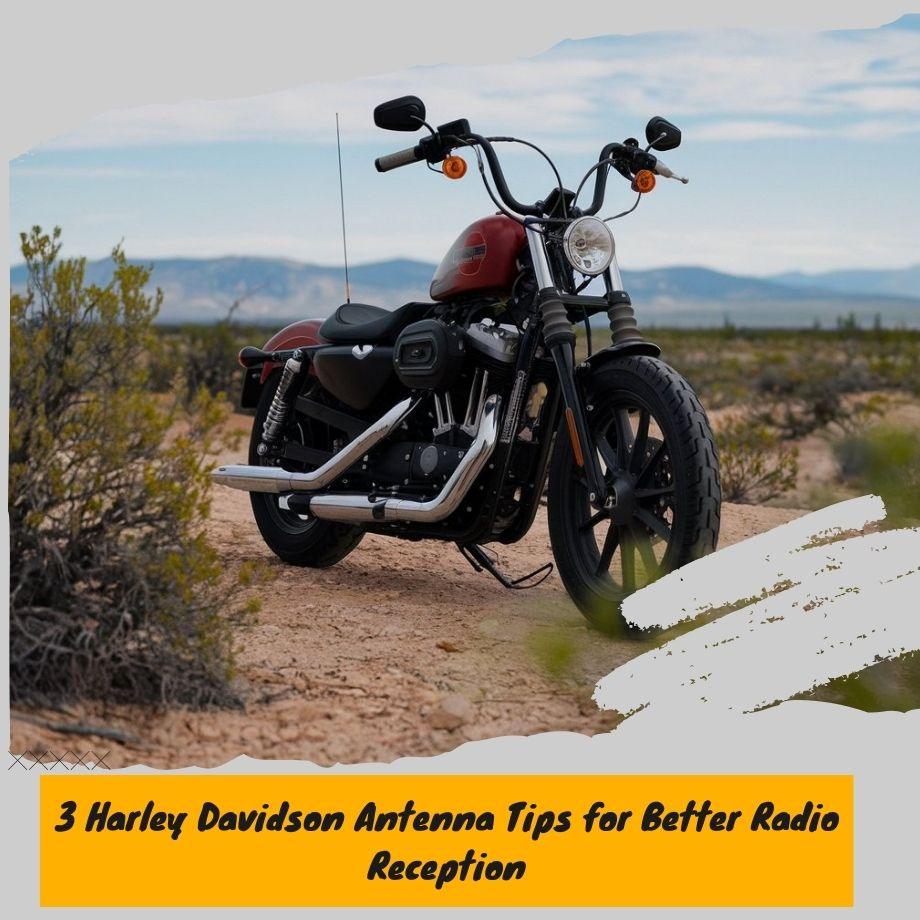
Whip Antennas: These are the classic, telescoping antennas that extend vertically from the motorcycle's body. Whip antennas are known for their simplicity and effectiveness in receiving signals. They are often made of stainless steel or other durable materials to withstand the rigors of the road.
Blade Antennas: Also known as rubber or mast antennas, blade antennas feature a sleek, aerodynamic design that hugs the motorcycle's body. They are typically made of flexible materials like rubber or plastic, which makes them more resistant to damage from branches or other obstacles. Blade antennas offer a more streamlined look while still providing reliable reception.
Shark Fin Antennas: These antennas are designed to mimic the shape of a shark's fin, with a low-profile, aerodynamic shape that blends seamlessly with the motorcycle's bodywork. Shark fin antennas are popular for their discreet appearance and ability to reduce wind noise and drag.
Amplified Antennas: For riders seeking enhanced reception and range, amplified antennas are an excellent choice. These antennas incorporate an internal amplifier that boosts the signal strength, ensuring clear and consistent communication even in areas with weaker signals.
Disguised Antennas: Some Harley enthusiasts prefer to conceal their antennas for aesthetic reasons. Disguised antennas are cleverly integrated into the motorcycle's design, often blending into the bodywork or appearing as innocuous components like mirrors or turn signals.
Each type of antenna offers its own unique advantages and caters to different rider preferences and needs.
Factors such as riding style, signal strength requirements, and personal style preferences can influence the choice of antenna for a Harley Davidson motorcycle.
Importance of a Properly Functioning Antenna
Having a properly functioning antenna on your Harley Davidson motorcycle is crucial for ensuring reliable performance of various features and systems.
One of the primary functions of an antenna is to facilitate clear radio reception, allowing you to enjoy your favorite tunes or stay updated with traffic reports during your rides.
Additionally, many modern Harley Davidson models come equipped with GPS navigation systems, which rely on a strong antenna signal to accurately pinpoint your location and provide turn-by-turn directions.
A malfunctioning antenna can lead to poor GPS performance, making it difficult to navigate unfamiliar routes or find your way back if you get lost.
Moreover, some Harley Davidson models offer advanced communication systems that allow riders to stay connected with fellow riders or receive important notifications.
These systems depend on a robust antenna signal to ensure seamless communication and prevent dropped connections or interference.
Beyond these features, a properly functioning antenna can also contribute to the overall safety and enjoyment of your riding experience.
For instance, if your motorcycle has a built-in CB radio or emergency communication system, a reliable antenna is essential for transmitting and receiving clear signals in case of an emergency or breakdown.
Common Antenna Issues and Troubleshooting
Harley Davidson antennas, like any other electronic component, can experience various issues that can affect their performance.
One of the most common problems is poor reception, which can manifest as static, interference, or a complete loss of signal. This can be caused by a variety of factors, including damage to the antenna itself, improper installation, or interference from other electronic devices or environmental factors.
Another common issue is antenna vibration or movement, which can cause intermittent signal loss or distortion.
This can be particularly problematic for Harley Davidson motorcycles, as the constant vibration and movement can put additional stress on the antenna and its connections.
If you're experiencing any of these issues, there are several troubleshooting steps you can take:
-
Inspect the antenna: Check for any visible damage, such as cracks, bends, or corrosion. If the antenna is damaged, it may need to be replaced.
-
Check the connections: Ensure that all connections between the antenna and the radio are secure and free of corrosion or damage.
-
Eliminate interference: Identify any potential sources of interference, such as other electronic devices or power lines, and try to relocate or shield the antenna accordingly.
-
Adjust the antenna position: Experiment with different antenna positions and orientations to find the best signal reception.
-
Replace the antenna cable: If the cable connecting the antenna to the radio is damaged or degraded, it may need to be replaced.
-
Update firmware or software: In some cases, updating the firmware or software on your radio or other electronic components may resolve antenna-related issues.
If these troubleshooting steps don't resolve the issue, it may be time to consider replacing the antenna or seeking professional assistance from a Harley Davidson dealership or authorized repair shop.
Antenna Replacement and Installation
Replacing or installing a new antenna on your Harley Davidson motorcycle is a straightforward process, but it's essential to follow the proper steps to ensure optimal performance and avoid any damage. Here's a step-by-step guide to help you through the process:
-
Gather the necessary tools: You'll need a set of wrenches or sockets (the size will depend on your specific motorcycle model), wire cutters, electrical tape, and the new antenna you've purchased.
-
Locate the existing antenna: The antenna is typically mounted on the rear fender or sissy bar of your Harley. It may be connected to the electrical system through a cable or directly to the frame.
-
Disconnect the old antenna: Carefully disconnect the old antenna from its mounting point and electrical connections. If it's connected via a cable, you may need to trace the cable back to the radio or electrical system to disconnect it properly.
-
Remove the old antenna: Once the antenna is disconnected, you can remove it from the motorcycle. Be careful not to damage any surrounding components during this process.
-
Prepare the new antenna: If your new antenna came with instructions, follow them carefully. Otherwise, ensure that the mounting hardware and electrical connections are compatible with your Harley Davidson model.
-
Mount the new antenna: Position the new antenna in the desired location, ensuring that it's securely mounted and won't interfere with any moving parts or components.
-
Connect the electrical wiring: Depending on your antenna type, you may need to connect it directly to the electrical system or run a new cable to the radio or control unit. Follow the manufacturer's instructions or consult a professional if you're unsure about the wiring.
-
Test the new antenna: Once everything is connected, turn on your radio or communication system and test the new antenna's performance. Adjust the positioning or connections if necessary.
-
Secure and finalize the installation: Use electrical tape or cable ties to secure any loose wiring and ensure that the antenna is firmly mounted and won't come loose during operation.
It's important to note that some Harley Davidson models may have specific instructions or requirements for antenna replacement and installation.
Always refer to your owner's manual or consult a professional if you're unsure about any part of the process.
Additionally, take necessary precautions to avoid any electrical shocks or damage to your motorcycle's components.
Choosing the Right Antenna for Your Harley
Selecting the right antenna for your Harley Davidson motorcycle is crucial for ensuring optimal performance and reliability.
With various models, riding styles, and specific needs, it's essential to consider several factors when choosing the appropriate antenna.
First and foremost, consider the make, model, and year of your Harley. Different models may have different antenna mounting locations, cable lengths, and compatibility requirements.
Consult your owner's manual or reach out to Harley-Davidson experts to ensure you select an antenna specifically designed for your bike.
Next, assess your riding style and needs. If you primarily ride on open roads and highways, a longer antenna with better range might be preferable. For city riding or shorter trips, a more compact antenna could be a better choice.
Additionally, if you frequently use communication systems or audio equipment, you'll want an antenna that can handle those demands without interference or signal loss.
Another factor to consider is the antenna's construction material. Stainless steel antennas are durable and resistant to corrosion, making them a popular choice for Harley riders.
However, some riders prefer the sleek and modern look of carbon fiber antennas, which are lightweight and stylish.
Finally, think about any customization or personalization you might want for your antenna. Some Harley enthusiasts opt for antennas with unique designs, colors, or finishes to complement their bike's overall aesthetic.
Others prioritize functionality and seek antennas with advanced features like signal boosters or noise reduction capabilities.
Remember, the right antenna can significantly improve your riding experience by ensuring clear communication, uninterrupted audio, and reliable connectivity.
Take the time to research and consult with experts to find the perfect antenna that meets your specific needs and enhances your Harley Davidson's performance.
Antenna Maintenance and Care Tips
Proper maintenance and care are crucial for ensuring your Harley Davidson antenna continues to function optimally and lasts for years to come. Here are some essential tips to keep in mind:
Regular Inspections: Periodically inspect your antenna for any signs of damage, corrosion, or loosening. Check for cracks, fraying, or bent elements, which can affect signal reception and transmission.
Cleaning: Use a soft cloth and mild soap solution to gently clean the antenna. Avoid using harsh chemicals or abrasives, as they can damage the antenna's surface or coating.
Tightening Connections: Ensure that all connections between the antenna and the radio or wiring are tight and secure. Loose connections can cause signal interference or loss.
Protecting from the Elements: When not in use, consider covering your antenna with a protective cover or removing it entirely to prevent exposure to harsh weather conditions, such as rain, snow, or extreme temperatures.
Proper Storage: If you need to remove the antenna for any reason, store it in a safe, dry place to prevent damage or corrosion.
Vibration Reduction: Excessive vibration can cause premature wear and tear on your antenna. Consider using vibration-dampening mounts or isolators to minimize vibration and prolong the antenna's lifespan.
Replacement Schedule: Even with proper care, antennas have a limited lifespan. Keep an eye out for signs of deterioration and be prepared to replace your antenna every few years or as recommended by the manufacturer.
Antenna Accessories and Upgrades
For Harley enthusiasts looking to enhance their motorcycle's antenna performance, there are various accessories and upgrades available in the market.
These additions can improve signal strength, extend range, and provide a more seamless communication experience on the road.
One popular accessory is an antenna mount. These mounts allow you to position your antenna in an optimal location, minimizing interference and maximizing signal reception.
They come in different styles, including handlebar mounts, fork stem mounts, and luggage rack mounts, catering to your preference and bike setup.
Antenna amplifiers are another useful upgrade, especially for those who frequently ride in areas with weak or spotty signals.
These devices amplify the incoming and outgoing signals, boosting the overall performance of your antenna and ensuring better connectivity.
Signal boosters are also available, designed to capture and amplify weak signals, ensuring a stronger and more consistent connection.
These can be particularly beneficial for riders who venture into remote areas or encounter signal-challenging terrains.
For those seeking a more comprehensive solution, antenna kits are offered by various manufacturers.
These kits typically include an upgraded antenna, mount, and any necessary cabling or adapters, providing a convenient all-in-one package for seamless installation and improved performance.
It's important to note that when considering antenna accessories and upgrades, compatibility with your specific Harley Davidson model and existing communication systems is crucial.
Consulting with experts or referring to manufacturer guidelines can help ensure a proper fit and optimal functionality.
Legal Considerations and Regulations
When it comes to installing or modifying antennas on your Harley Davidson motorcycle, it's crucial to be aware of the legal considerations and regulations in your area.
These regulations are in place to ensure safety and compliance with emission standards.
One of the primary concerns is the height of the antenna. Most states and jurisdictions have restrictions on the maximum height allowed for motorcycle antennas.
Exceeding these height limits can result in fines or legal penalties. It's essential to research and comply with the specific regulations in your area before installing a new or modified antenna.
Additionally, certain types of antennas or modifications may affect the motorcycle's emissions or radio frequency (RF) emissions.
Regulations exist to ensure that these emissions remain within acceptable levels to prevent interference with other electronic devices or systems.
Any antenna modifications that could potentially increase emissions beyond the legal limits should be avoided or properly mitigated.
It's also important to consider the legality of specific antenna types or configurations in your area.
Some jurisdictions may have restrictions on certain antenna designs or materials, particularly those that could be considered hazardous or pose a safety risk.
If you plan to have your Harley Davidson antenna installed or modified by a professional service, ensure they are familiar with the relevant regulations and can provide guidance on compliance.
Reputable service providers should be knowledgeable about the legal requirements and able to ensure that any antenna work performed on your motorcycle meets all applicable standards.
Remember, ignoring legal considerations and regulations regarding Harley Davidson antennas can lead to fines, legal issues, or even potential safety hazards.
It's always better to err on the side of caution and prioritize compliance to avoid any unnecessary complications or penalties.
Antenna Installation and Customization Services
If you're not comfortable tackling the antenna installation or customization process yourself, or if you simply want a professional touch, there are numerous services available to assist you.
Many Harley-Davidson dealerships and independent motorcycle shops offer antenna installation and customization services, ensuring a proper fit and seamless integration with your bike's electrical system.
When considering professional services, it's essential to research and choose a reputable provider with experience working on Harley-Davidson motorcycles.
Seek recommendations from fellow enthusiasts, read online reviews, and inquire about the technicians' qualifications and certifications.
A skilled professional can not only install your antenna correctly but also provide valuable advice on the best options for your specific bike and riding needs.
In addition to installation, many service providers offer customization options to personalize your antenna's appearance and functionality. This can include custom antenna designs, unique finishes, and even integrated features like LED lighting or wireless connectivity.
Customization allows you to enhance both the aesthetics and performance of your antenna, ensuring it complements your Harley's style and meets your specific requirements.
Before committing to a service provider, it's advisable to obtain quotes and discuss the scope of work, materials to be used, and any warranties or guarantees offered.
Clear communication and understanding of the process can help ensure a smooth and satisfactory experience.
Antenna Tips from Harley Enthusiasts
As a Harley enthusiast, there's nothing quite like hitting the open road and feeling the wind in your face.
But let's be real, a smooth ride isn't just about the rumble of the engine – it's also about staying connected. That's where your trusty antenna comes in, and who better to share some insider tips than fellow riders who've been there, done that?
First up, let's talk about those pesky antenna cables. You know the ones – they're always getting tangled, frayed, or just plain giving you grief. Well, here's a little trick: invest in some high-quality cable sleeves.
Not only will they protect your cables from the elements, but they'll also make them easier to manage and keep tidy.
Next, let's talk about antenna placement. Sure, the manufacturer's recommended spot might work for some, but every rider is different.
Don't be afraid to experiment a little and find the sweet spot that gives you the best reception. Just be sure to secure that baby down tight – you don't want it going rogue mid-ride.
Speaking of securing your antenna, have you ever tried using a little bit of threadlocker? It's a game-changer, my friends.
Just a dab of the stuff on those antenna threads, and you'll never have to worry about it coming loose and rattling around like a drunk cowboy at a square dance.
Now, let's get real for a second. We've all been there – you're cruising down the highway, jamming out to your favorite tunes, when suddenly... static. It's enough to make you want to pull over and chuck your radio into the nearest ditch.
But before you do something you might regret, try this: give your antenna a little wiggle. Sometimes, that's all it takes to get things back in working order.
Finally, let's talk about the elephant in the room: replacement antennas. Sure, they might not be the most exciting purchase you'll ever make, but trust me, investing in a quality antenna can make all the difference.
Don't just go for the cheapest option – do your research, read reviews, and find one that's built to last and deliver crystal-clear reception.
At the end of the day, your Harley is more than just a bike – it's a way of life. And just like any other aspect of riding, a little bit of know-how and some insider tips can go a long way towards making sure you're getting the most out of your experience. So saddle up, my friends, and ride on!


Leave a comment