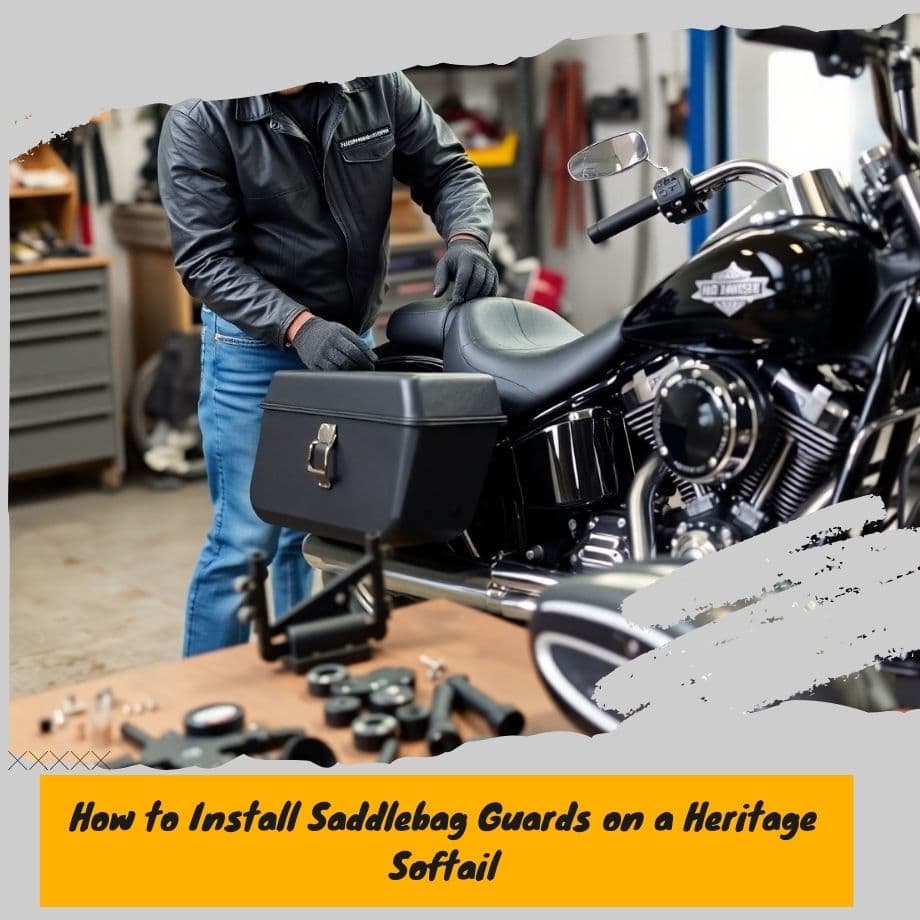
Step-by-Step Guide: How to Install Saddlebag Guards on a Heritage Softail

If you own a Harley-Davidson Heritage Softail, you know that one of the best ways to protect your bike is by adding saddlebag guards. These sturdy accessories not only provide extra protection for your bags but also enhance the overall look of your bike. Whether you’re trying to avoid scratches or safeguard your saddlebags from a tip-over, installing saddlebag guards is a great investment for your motorcycle.
In this step-by-step guide, we’ll walk you through how to easily install saddlebag guards on your Heritage Softail. By the end of this guide, you’ll have the knowledge to complete the job quickly and efficiently. Let’s get started!
Why Install Saddlebag Guards?
Before diving into the installation process, let’s talk about why saddlebag guards are an essential addition to your Heritage Softail.
- Protection: Saddlebag guards shield your bags from potential damage during accidental tip-overs or from debris flying up while riding.
- Aesthetic Enhancement: These guards add a sleek, tough look to your bike, making it stand out even more on the road.
- Increased Durability: The added protection can extend the lifespan of your saddlebags, preventing expensive repairs or replacements.
Now, let’s get to the good part: installation!
What You’ll Need
Before you begin the installation, make sure you have the following tools and equipment ready:
- Saddlebag Guards specifically designed for the Harley-Davidson Heritage Softail.
- Socket Wrench Set
- Torque Wrench
- Hex Key/Allen Wrenches
- Screwdriver Set
- Thread Locker (optional but recommended)
- Safety Gloves (to protect your hands)
Step 1: Prepare Your Motorcycle
Start by lifting your Heritage Softail on a sturdy motorcycle stand, ensuring it's balanced and stable. You’ll be working with the rear section of the bike, so make sure it’s elevated and won't tip over during installation.
Tip: If you don’t have a stand, ensure the bike is parked on a flat surface with the kickstand securely down.
Step 2: Remove the Saddlebags (If Necessary)
In most cases, you’ll need to remove the saddlebags before you can install the guards. This allows for better access to the mounting points.
- Unscrew or unbolt any fasteners securing the saddlebags to the bike frame.
- Carefully slide the saddlebags off the brackets and set them aside.
Step 3: Identify the Mounting Points
Once the saddlebags are removed, locate the mounting points for the saddlebag guards. These are typically pre-drilled holes in the rear fender or rear frame. Some saddlebag guards may require additional brackets, so make sure to consult the manufacturer’s instructions.
- Front Mounting Point: This will typically be near the rear of the bike, close to the passenger footpeg area.
- Rear Mounting Point: This is located near the rear fender, just behind the rear tire.
Step 4: Install the Front Bracket
Start with the front bracket of the saddlebag guard:
- Position the front bracket so that it aligns with the mounting points on the frame.
- Insert the bolts into the mounting holes and hand-tighten them.
- Once secured, use a socket wrench to tighten the bolts, making sure they are snug but not over-tightened. You don’t want to strip the threads.
Tip: Apply a small amount of thread locker to the bolts before tightening to ensure they don’t loosen over time due to vibrations.
Step 5: Install the Rear Bracket
Now, move to the rear bracket and repeat the same process:
- Line up the rear bracket with the holes on the fender or rear frame.
- Insert the bolts into the holes and hand-tighten them.
- Tighten the bolts with the socket wrench, but again, avoid overtightening.
Step 6: Attach the Saddlebag Guards
With both brackets installed, it’s time to attach the saddlebag guards themselves.
- Position the guards onto the front and rear brackets, making sure they are aligned properly.
- Insert the bolts through the guards and into the brackets.
- Tighten the bolts using the appropriate hex key/Allen wrenches or socket wrench, depending on the type of bolts used for your guards.
Step 7: Reattach the Saddlebags
Now that the saddlebag guards are installed, it’s time to reattach the saddlebags to your bike:
- Line up the saddlebags with their brackets and secure them using the original fasteners you removed earlier.
- Tighten the screws or bolts to ensure the saddlebags are securely in place.
Tip: Double-check that the bags are aligned evenly on both sides of the bike.
Step 8: Final Check and Tightening
Once everything is in place, give your installation a final inspection. Check that all bolts and screws are tightly secured and that the saddlebag guards are firmly attached. You can use a torque wrench to ensure that all fasteners are tightened to the recommended torque settings.
Step 9: Test the Guards
Finally, give your bike a test ride to ensure everything is functioning properly. Take it slow and feel how the guards interact with your ride. Check for any signs of instability or rubbing. If everything seems secure, you’re all set!
Conclusion: Enjoy Your New Saddlebag Guards
Congratulations! You’ve successfully installed saddlebag guards on your Harley-Davidson Heritage Softail. Not only do they add an extra layer of protection to your saddlebags, but they also give your bike a more rugged, stylish look. With just a few tools and some time, you’ve made a worthwhile upgrade that will benefit both the appearance and durability of your bike.
FAQs
1. Do I need any special tools to install saddlebag guards?
No, most saddlebag guards can be installed with a basic socket wrench set and Allen wrenches. A torque wrench is optional but recommended for final tightening.
2. How do I know if the saddlebag guards fit my Heritage Softail?
Ensure that the saddlebag guards you purchase are designed specifically for your Heritage Softail model. Some manufacturers provide compatibility information.
3. Will installing saddlebag guards affect my saddlebags' fit?
No, as long as the guards are installed correctly, your saddlebags should fit perfectly with no interference.


Leave a comment