Achieve Safe, Balanced Storage: The Complete Guide to Harley-Davidson Saddlebag Installation
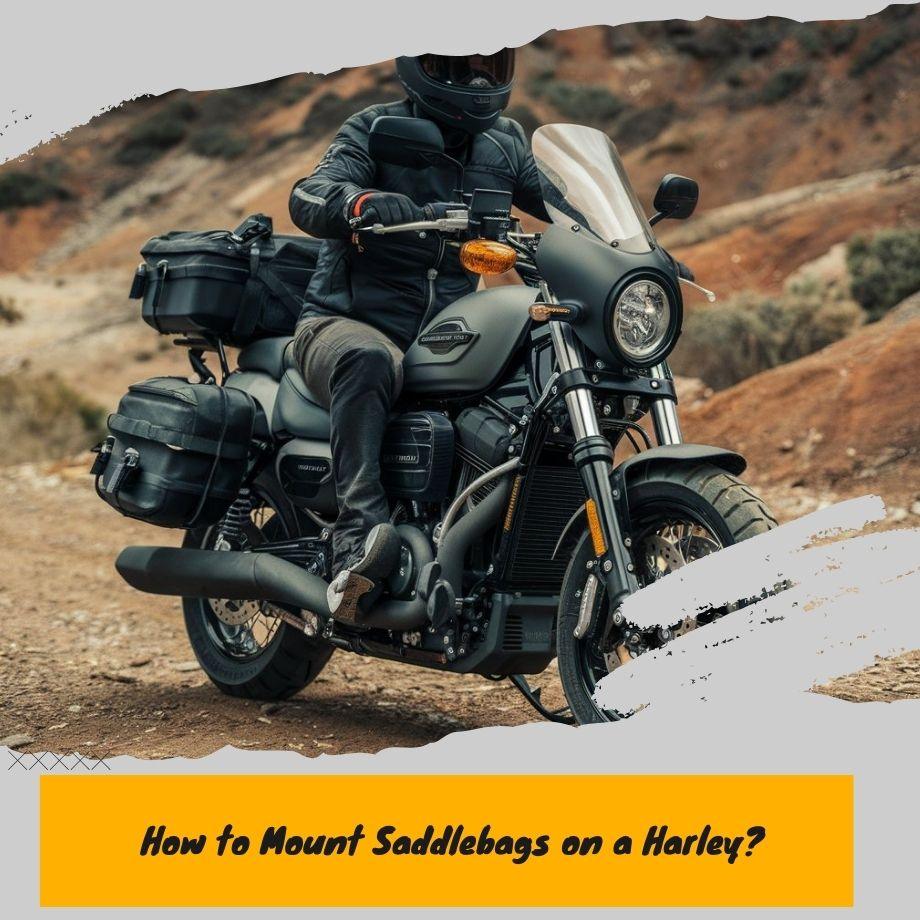
Installing saddlebags on your Harley-Davidson motorcycle is an important upgrade for increasing storage capacity and convenience on rides.
Properly installed saddlebags allow you to bring extra gear and supplies, while keeping weight balanced on the bike. However, incorrect saddlebag installation can lead to a number of issues that impact performance and safety.
Loose or unbalanced saddlebags can cause handling problems when cornering or braking. Improperly secured saddlebags may also vibrate, rub against the bike, or detach completely at high speeds.
Taking the time to correctly install saddlebags using the right techniques will give you peace of mind that your gear is safe and allow you to fully utilize your Harley's storage potential.
This guide will walk through the key steps for securely mounting both hard and soft saddlebags on your Harley. With proper saddlebag installation, you can hit the open road prepared for adventure and long rides.
Types of Harley Saddlebags
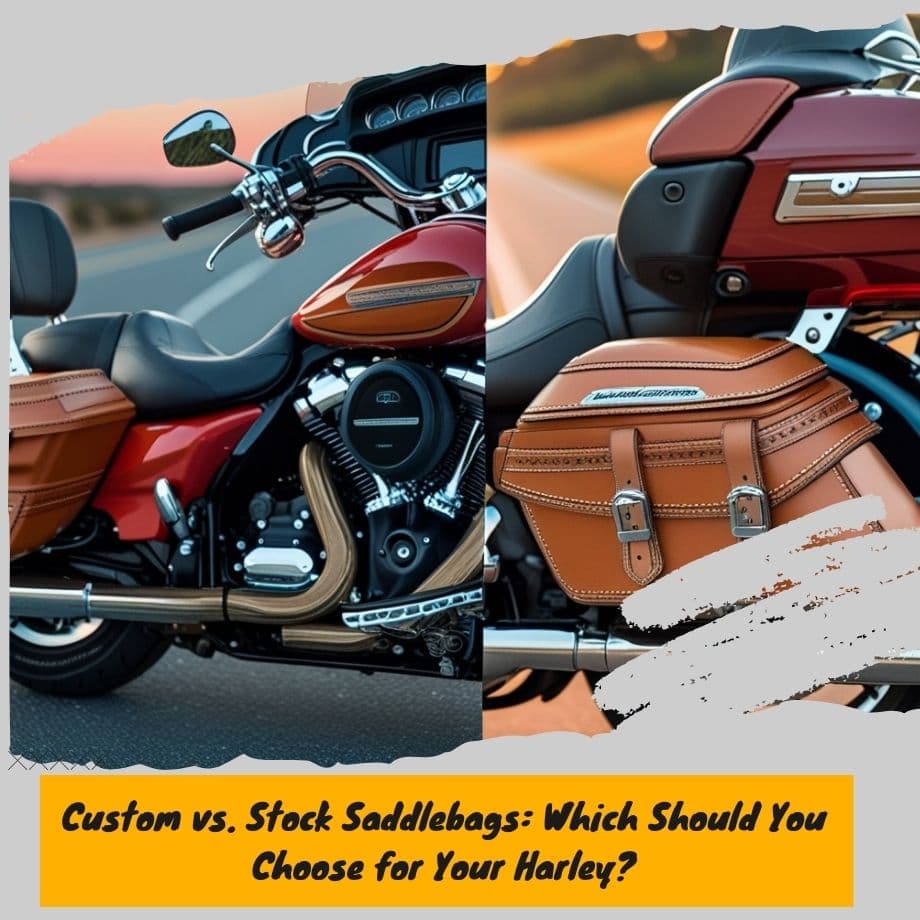
Harley-Davidson motorcycles have two main options for saddlebags: hard saddlebags or soft saddlebags.
Hard saddlebags are permanently mounted to the bike and made from rigid materials like fiberglass or plastic. Soft saddlebags use flexible materials like leather or heavy canvas, and attach with straps or quick-release buckles for easy removal.
Hard saddlebags provide more security and weather protection for your gear, while remaining aerodynamic at highway speeds. Popular Harley models like the Road King and Street Glide often come with color-matched hard saddlebags installed from the factory. Aftermarket options allow you to upgrade the size or style for more capacity.
For riders who prefer easy-on/easy-off access, soft saddlebags attach securely for rides but can detach quickly at stops. Leather saddlebags provide a classic styling on cruisers like the Heritage Softail, while heavy-duty canvas bags work well for long trips and all weather conditions.
Choosing Saddlebags
When selecting saddlebags for your Harley-Davidson, there are several key factors to consider:
Size - Make sure to choose saddlebags that provide adequate storage space for your needs. Measure the capacity in gallons or liters. Bigger is not always better - oversized saddlebags can negatively impact handling.
Weight - Heavier saddlebags will put more strain on mounting points. Aim for lighter weight bags, especially if carrying lighter items. Hard saddlebags are typically heavier than soft options.
Mounting Style - Saddlebags come in permanently mounted or removable styles. Permanent saddlebags integrate into the bike's frame for a seamless look. Removable bags allow for flexibility and easier access to contents.
Material - Most common materials are leather, vinyl, and plastic. Leather offers a classic look but requires more care. Vinyl is waterproof and budget-friendly. Plastic saddlebags are lightweight and durable.
Determining the Optimal Mounting Location
The optimal mounting location for saddlebags will depend on your specific Harley-Davidson model.
According to Harley-Davidson's service manual, the right-side saddlebag typically only has three mounting locations, all on the vertical portion of the saddlebag plastic back (Harley-Davidson, 2022).
However, some models like the Road King have additional mounting points towards the bottom. (You May also like to know about: EXPERT TIPS FOR ROCKING ROAD KING SADDLEBAGS)
Consult your owner's manual to identify the factory saddlebag mounting locations recommended for your bike. This is usually based on maintaining proper weight distribution and not interfering with components like the mufflers.
If installing aftermarket saddlebags, refer to the manufacturer's instructions for recommended mounting points specific to your Harley model.
Do a test fit of the empty saddlebags first to verify they align properly with the mount locations and do not make contact with other parts of the bike.
Adjust the mounting points if needed to achieve a secure fit that does not rub or wobble. Mark the finalized mounting hole locations before drilling or installing the mounting hardware.
Installing Permanent Saddlebags
Permanently mounted saddlebags require more effort to install, but provide a very secure and integrated look. Here are the key steps for proper installation:

Tools Needed
You'll need an assortment of common tools for permanent saddlebag installation including:
- Power drill
- Drill bits
- Socket wrench set
- Open-end wrench set
- Hex key set
- Screwdriver set
- Pliers
Make sure to use the sized drill bits and socket heads recommended by the saddlebag manufacturer.
Drilling Mounting Holes
After determining the optimal mounting location on your bike's frame, you'll need to drill holes to attach the saddlebag brackets. Use masking tape to mark the exact hole locations before drilling. Start with a smaller pilot hole then increase to the full sized mounting hole. Go slowly to avoid messing up the hole positions.
Securing the Brackets
With the holes drilled, position the saddlebag brackets and insert the provided bolts. Use the recommended torque when tightening the bolts with your socket wrench. Do not overtighten. The saddlebags should now be securely held in place by the brackets. Carefully check that the saddlebag does not shift or rotate.
Installing Removable Saddlebags
Removable saddlebags are a convenient option for Harley owners who want the ability to take the bags on and off as needed.
These saddlebags utilize straps or bungee cords to securely fasten the bags to the motorcycle without requiring permanent mounting brackets.
Proper positioning is critical when installing removable saddlebags. You'll want to place the bags back far enough that they don't interfere with the rider's legs or movement, but not so far back that they affect balance and handling.
You May Also Like: Process of installing saddlebag extension
Refer to your owner's manual for the optimal location. Generally, saddlebags should be positioned at least 8 inches behind the rider's legs.
Use sturdy straps or bungee cords to fasten the saddlebags in place. Wrap the straps tightly around a secure frame part on the bike according to the saddlebag instructions.
Avoid overtightening straps against painted surfaces. For added stability, utilize saddlebag supports that keep the bags upright.
Always check straps before each ride to ensure they are tight and properly secured. Also confirm the saddlebags do not obstruct lights or signals. With removable saddlebags, take care not to overload them with extremely heavy items that could cause shifting.
Protecting Your Bike's Finish During Installation
When installing saddlebags, it's important to take precautions to avoid damaging your motorcycle's paint and finish. The mounting process often requires pressing the saddlebags or mounting hardware against the body of the bike, which can scratch or chip the paint if you’re not careful.
Here are some tips to keep your Harley's finish looking great during saddlebag installation:
- Cover any parts of the bike where the saddlebags or hardware will contact the surface with painter’s tape or masking tape. This creates a protective barrier against scratches and chips.
- Use rubberized shims or pads between the saddlebags and contact points on the motorcycle. The rubber padding minimizes vibration and friction that can damage the finish.
- Wipe down the installation areas with rubbing alcohol to remove dirt or debris that could scratch the paint during installation.
- Adjust the saddlebags and test their positioning without fully tightening them down. This lets you check for potential paint damage before finalizing the mount.
- Go slowly and carefully when pressing saddlebag mounts and hardware against the bike's surface to avoid slipping and sudden scratches.
- Consider using touch up paint on installation points before mounting the saddlebags to cover any minor chips or scratches.
Properly preparing the contact areas and taking precautions during installation will allow you to mount saddlebags on your Harley without damaging the high-quality finish. Your bike will maintain its pristine look for many more miles down the road.
Testing Saddlebag Security
After installing saddlebags, it's crucial to test that they are securely mounted and can handle the expected load capacity. Here are some tips for testing saddlebag security:
Check the load capacity of your saddlebags. The manufacturer should provide a weight limit. Gradually add weight such as sandbags up to the limit to ensure the mounting hardware and bag material can handle it without issues.
Give the saddlebags a firm push and pull test when mounted on the bike. There should be minimal shifting or looseness.
You May Also Like: Open your Harley-Davidson saddlebags without a key
Inspect all mounting straps, brackets, and hardware. Make sure straps are tight and brackets are firmly secured with no visible movement or gaps.
Take the bike for a short test ride with the saddlebags mounted and loaded. Accelerate, brake, and lean into turns. Listen and feel for any slipping, rattling, or loosening issues.
Re-check strap tightness and mounting hardware after the test ride. Make any adjustments needed until bags feel completely stable and secured.
Refer to your specific saddlebag model's documentation for any additional testing or break-in recommendations from the manufacturer.
Properly testing saddlebag mounting security is a quick and easy process that ensures you can utilize their full storage capacity safely.
Key Installation Tips
Here is a summary of the most important steps when installing saddlebags on your Harley-Davidson motorcycle:
- Choose saddlebags designed specifically for your Harley model and intended use (hard vs soft, permanent vs removable). Consider weight limits and your storage needs.
- Determine the optimal mounting location based on your bike's frame and intended saddlebag size and style.
- Use the proper tools and follow instructions for installing permanent or removable saddlebags.
- Take precautions like using painters tape when drilling holes to avoid scratching or damaging the finish.
- Securely tighten all mounting hardware and straps according to specifications.
- Test saddlebag attachment by loading bags evenly and going on short rides before long trips.
- Check saddlebag hardware and straps regularly to ensure bags remain securely mounted.
Following saddlebag mounting instructions carefully and testing the install will allow you to ride safely with the convenience of storage.
Wrap UP
Properly installing saddlebags on your Harley-Davidson is crucial for both safety and convenience when riding. Improperly secured bags can shift around or even detach at high speeds, posing a major hazard to you and other motorists.
As the old adage goes, "an ounce of prevention is worth a pound of cure" - taking the time to correctly mount and thoroughly test your saddlebags will pay dividends through years of reliable performance on the road.
Riders should follow the step-by-step installation guides above, using quality hardware and materials (Learn More: TYPES OF SADDLEBAG HARDWARE) , to get their saddlebags mounted securely. Test the load capacity once installed by adding weight and taking short test rides to confirm bags don't shift. Proper saddlebag installation will allow you to safely and conveniently access storage while riding for years to come.
As stated in a recent article,
"A well-designed ergonomic layout can reduce fatigue during long journeys, minimize the risk of injury by promoting proper posture and weight distribution, and ultimately provide a more comfortable and enjoyable riding experience"
Properly installed saddlebags contribute to proper motorcycle ergonomics and safety.

Leave a comment