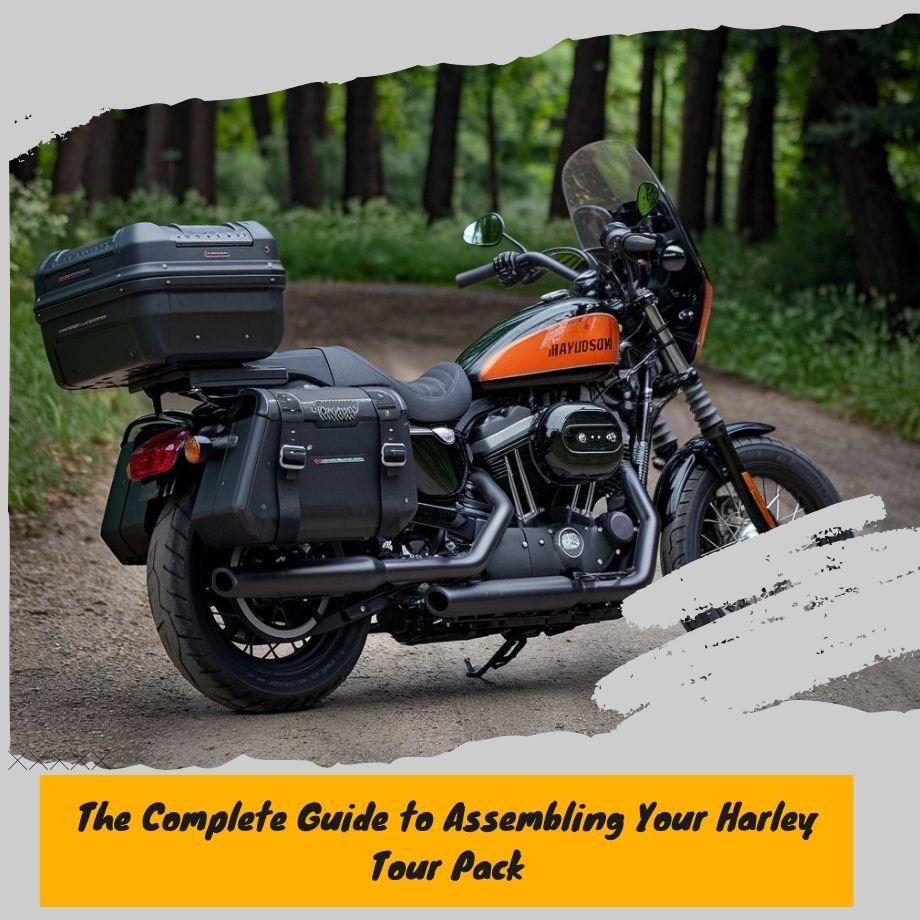
Assembling Your New Harley Tour Pack? Here's What You Need to Know

The primary purpose of a Harley Tour Pack is to enhance the touring experience by offering convenient and secure storage, allowing riders to pack everything they need for extended trips without compromising the bike's handling or performance.
These tour packs are designed to seamlessly integrate with the motorcycle's styling, maintaining a sleek and cohesive look.
Common features of Harley Tour Packs include:
-
Spacious Interior: Tour packs offer a generous amount of storage space, typically ranging from 10 to 20 gallons, depending on the model and size.
-
Lockable Lid: A secure, lockable lid protects the contents of the tour pack from theft or accidental opening during travel.
-
Weatherproof Design: Constructed with durable, weather-resistant materials, tour packs safeguard your belongings from rain, dust, and other environmental elements.
-
Integrated Lighting: Many tour packs feature built-in LED lighting, enhancing visibility and safety during nighttime riding.
-
Mounting System: Tour packs are designed to mount securely to the motorcycle's frame or luggage rack, ensuring a stable and vibration-free ride.
-
Customizable Options: Riders can choose from various styles, colors, and finishes to match their personal preferences and the aesthetic of their Harley-Davidson motorcycle.
Whether embarking on a cross-country adventure or a weekend getaway, a Harley Tour Pack provides the essential storage capacity and convenience that touring enthusiasts demand, allowing them to fully embrace the freedom of the open road.
Mocardine is celebrating the riding season by offering incredible deals on Harley-Davidson Tour Packs! Whether you're gearing up for a cross-country adventure or just need extra storage for day trips, now is the perfect time to upgrade your bike with a high-quality Tour Pack.
Tools and Materials Needed
To assemble your Harley Tour Pack, you'll need the following tools and materials:
Tools:
- Set of metric sockets and ratchets
- Combination wrenches (sizes will vary based on model)
- Phillips and flat-head screwdrivers
- Torque wrench
- Locking pliers or vise grips
- Razor knife or box cutter
- Hammer (optional for mounting studs)
Materials:
- Tour Pack kit (includes pack body, mounting brackets, and hardware)
- Threadlocker (medium strength)
- Dielectric grease
- Wire ties or loom (for cable management)
- Anti-seize lubricant
- Cleaning supplies (rags, degreaser, etc.)
Having the right tools and materials on hand will ensure a smooth and successful installation process. Be sure to consult your specific model's instructions for any additional requirements.
Step-by-Step Assembly Guide
-
Prepare the Mounting Hardware: Lay out all the necessary mounting hardware that comes with your Harley tour pack kit. This typically includes brackets, spacers, bolts, washers, and nuts. Ensure you have all the required components before proceeding.
-
Remove the Existing Rear Fender: Start by removing the existing rear fender from your Harley-Davidson motorcycle. Consult your owner's manual or seek professional assistance if unsure about the proper removal procedure for your specific model.
-
Install the Mounting Brackets: Position the mounting brackets on the motorcycle's frame where the tour pack will be installed. Align the brackets correctly and secure them using the provided bolts, washers, and nuts. Tighten the hardware to the recommended torque specifications.
-
Attach the Tour Pack Base: With the mounting brackets in place, carefully place the tour pack base onto the brackets. Ensure proper alignment and secure it using the appropriate bolts, washers, and nuts. Double-check that the base is securely fastened.
-
Install the Tour Pack Lid: Once the base is secured, it's time to install the tour pack lid. Align the lid with the base and engage the hinges or mounting points. Ensure the lid opens and closes smoothly without any obstructions.
-
Connect Electrical Components (if applicable): If your tour pack has electrical components, such as lights or wiring harnesses, follow the manufacturer's instructions to properly connect them to your motorcycle's electrical system.
-
Adjust and Secure: With the tour pack assembled, make any necessary adjustments to ensure a proper fit and alignment. Tighten all hardware to the recommended torque specifications to prevent any loosening or rattling during rides.
-
Test and Finalize: Before hitting the road, test the tour pack's functionality. Open and close the lid, check for any interference or rubbing, and ensure all electrical components (if applicable) are working correctly. Make any final adjustments if needed.
Note: It's essential to follow the specific instructions provided by the manufacturer for your particular tour pack model and motorcycle. Refer to the included installation manual or seek professional assistance if you encounter any difficulties or have concerns during the assembly process.
Tips for Easier Installation
Installing a Harley Tour Pack can be a bit tricky, but with some helpful tips, you can make the process smoother and more efficient. Here are some practical suggestions:
- Lay out all the components and hardware before starting to ensure you have everything needed and to familiarize yourself with the parts.
- Work in a clean, well-lit area with ample space to spread out the components and move around the bike.
- Consider having an extra set of hands to assist, especially when lifting or aligning the tour pack onto the mounting brackets.
- Use a soft cloth or towel to protect the bike's paint from scratches when resting the tour pack against the motorcycle.
- Apply a small amount of lubricant or grease to any metal-on-metal contact points to prevent binding or seizing.
- Double-check all hardware connections and tighten them according to the specified torque values to ensure a secure fit.
- Take your time and don't rush the process, as proper installation is crucial for safe and reliable use of the tour pack.
- Refer to the manufacturer's instructions or seek guidance from experienced mechanics if you encounter any difficulties or have questions.
Common Installation Mistakes
One of the most frequent mistakes made during tour pack assembly is failing to properly align and secure the mounting hardware. It's crucial to follow the instructions precisely and ensure that all bolts, brackets, and clamps are tightened to the correct torque specifications.
Loose or misaligned hardware can lead to rattling, vibrations, and even the tour pack becoming detached while riding.
Another common error is overlooking the wire routing and connections for any electrical components, such as brake lights or turn signals integrated into the tour pack.
Improperly secured or pinched wires can cause short circuits, intermittent functionality, or complete failure of these essential safety features.
Neglecting to apply the recommended threadlocker or sealant to certain fasteners can also lead to issues down the road.
These products help prevent loosening due to vibrations and ensure a secure, long-lasting installation.
Finally, some riders make the mistake of skipping the final adjustment and fitment checks after assembly.
It's essential to ensure that the tour pack sits level, doesn't interfere with the motorcycle's suspension or other components, and that all latches, hinges, and locks operate smoothly before hitting the road.
To avoid these common pitfalls, take your time, carefully read and follow the instructions, and don't hesitate to seek assistance from experienced mechanics or online resources if you encounter any difficulties during the assembly process.
Loading and Securing Cargo
Loading your Harley Tour Pack correctly is crucial for safe and comfortable riding. Proper packing techniques will help distribute weight evenly, prevent items from shifting during travel, and protect your belongings.
Here are some tips for loading and securing cargo in your Tour Pack:
Distribute Weight Evenly: Arrange heavier items low and towards the center of the Tour Pack. This will keep the weight balanced and prevent the bike from becoming top-heavy, which can affect handling and stability.
Use Packing Cubes or Soft Bags: Packing cubes or soft bags help organize your items and prevent them from shifting during transit. They also make it easier to access specific items without having to unpack everything.
Secure Loose Items: Any loose items should be secured with bungee cords, straps, or nets to prevent them from moving around or falling out. Ensure that nothing can come loose and interfere with the bike's operation or cause a safety hazard.
Pack Tightly: Once everything is loaded, compress the contents by pressing down firmly. This will minimize shifting and create a more compact load, which can improve fuel efficiency and handling.
Use a Rain Cover: Invest in a high-quality rain cover for your Tour Pack. This will protect your belongings from the elements and keep them dry, even in inclement weather.
Consider a Luggage Liner: A luggage liner can further protect your belongings from scratches, scuffs, and moisture. It also makes it easier to load and unload your Tour Pack without having to remove everything individually.
Don't Overload: Always observe the weight limits specified by the manufacturer. Overloading your Tour Pack can cause handling issues, increased wear and tear, and potentially void your warranty.
Tour Pack Maintenance and Care
Proper maintenance is key to extending the life and performance of your Harley tour pack. Here are some best practices for keeping your tour pack in top condition:
Cleaning: Regularly wipe down the interior and exterior of your tour pack with a damp cloth and mild soap solution. Avoid harsh chemicals or abrasives that could damage the material or finish. For tougher grime or road grit, use a soft-bristle brush and gentle scrubbing. Thoroughly dry the tour pack after cleaning.
Lubrication: The latch mechanisms, hinges, and mounting hardware on your tour pack should be lubricated periodically with a high-quality lubricant designed for outdoor equipment. This will ensure smooth operation and prevent sticking or binding. Follow the manufacturer's recommendations for lubrication intervals.
Inspection: Routinely inspect your tour pack for any signs of wear, cracks, or damage. Check the mounting hardware for tightness and the latch mechanisms for proper function. Address any issues promptly to prevent further deterioration or potential failure while on the road.
Storage: When not in use, store your tour pack in a cool, dry place, out of direct sunlight. Prolonged exposure to UV rays can cause fading and premature aging of the materials. Consider using a breathable cover to protect the tour pack during storage.
Waterproofing: If your tour pack is not fully waterproof, consider treating it with a waterproofing spray or sealant designed for outdoor gear. This will help protect the contents of your tour pack from rain, road spray, and moisture.
By following these simple maintenance practices, you can ensure your Harley tour pack remains in excellent condition for years of reliable service on your adventures.
Customization Options
One of the great things about Harley-Davidson Tour Packs is the ability to customize them to suit your personal style and needs. There are a wide range of popular modifications and accessories available to help you personalize your Tour Pack.
One popular customization is adding LED lighting to the interior or exterior of the pack.
This not only looks cool but can also provide better visibility when loading or unloading at night. Many riders also opt to add additional storage pouches, racks, or baskets to maximize the pack's carrying capacity.
For those looking to add a personal touch, custom paint jobs or airbrushed designs are a great way to make your Tour Pack truly one-of-a-kind.
Aftermarket latches, hinges, and hardware are also available in various finishes like chrome or black to complement your bike's styling.
If you frequently carry electronics or other sensitive items, adding a power supply or USB ports can be a convenient upgrade. And for added security, locking mechanisms or alarms can give you peace of mind when your Tour Pack is unattended.
No matter what your style or needs, there are plenty of customization options to make your Harley Tour Pack an extension of your personality on the road. With a little creativity, you can truly make it your own.
Tour Pack Models and Sizing
Harley-Davidson offers several tour pack models designed to fit different motorcycles in their lineup. The size and fitment vary depending on the specific bike model. Here's an overview of the popular tour pack options:
Classic Tour Packs: These are the traditional hard-case tour packs that provide ample storage space for long rides. They come in various sizes to fit models like the Road King, Street Glide, and Electra Glide. The larger sizes can accommodate two full-face helmets and plenty of gear.
Chopped Tour Packs: As the name suggests, these tour packs have a "chopped" or truncated design, giving them a more compact and sleek look. They're available for models like the Road Glide and offer decent storage capacity while maintaining a streamlined profile.
King Tour Packs: Designed specifically for the Road King model, these tour packs have a unique shape that complements the bike's styling. They offer generous storage while preserving the classic Road King silhouette.
Compact Tour Packs: For riders who want additional storage without the bulk of a full-sized tour pack, compact options are available. These are suitable for models like the Softail and Dyna, providing just enough space for essentials without compromising the bike's agility.
Proper fitment is crucial when selecting a tour pack. Harley-Davidson provides detailed fitment guides to ensure compatibility with specific motorcycle models and years. It's essential to choose the right tour pack size and style to maintain the bike's balance and handling characteristics while accommodating your storage needs.


Leave a comment