• Send Us a Message
  • Harley Davidson Oil Change Guide: Step-by-Step Instructions for Every Rider
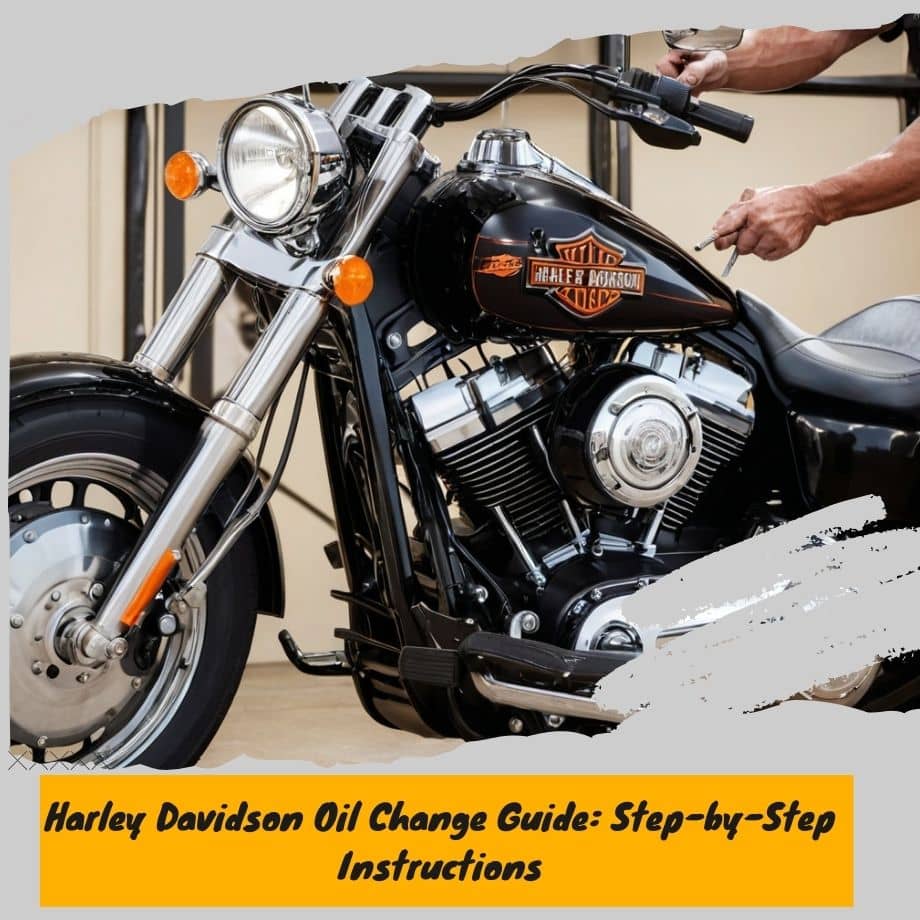
    Harley Davidson Oil Change Guide

    If you’re a proud Harley Davidson owner you already know how important it is to keep your bike maintained. An oil change is one of the most important (and surprisingly simple) maintenance tasks you can do. Changing your oil makes the heart of your car, running smoothly and reduces repair costs later.

    To keep your Harley Davidson going smoothly, in this guide you’ll learn how to change the oil on your Harley Davidson with the proper tools, step by step instructions, and some tips to help you do it right the first time. Let’s get started!

    Why Harley Davidson Oil Changes are So Important

    In the spirit of keeping things quick and simple, let’s do a quick recap of why changing your oil is so important. The oil in your Harley’s engine plays several important roles:

    • Lubrication: It reduces friction between the moving parts helping to avoid wear and tear.
    • Cooling: It helps dissipate the heat produced by the engine.
    • Cleaning: It removes debris, dirt and particles that can also accumulate over time.

    The failure to perform oil changes can result in reduced engine performance, overheating, and so on logical permanent engine damage.

    According to most Harley owners, most riders should change the oil at 3000 to 5000 miles, or now depending on your riding habits and conditions. For specific recommendations, always refer to your owner’s manual.

    Tools and Materials You’ll Need

    Before you roll up your sleeves, make sure you have the following tools and materials on hand:

    Tools:

    • Oil filter wrench
    • Socket wrench set (typically 5/8-inch for drain plugs)
    • Funnel
    • Oil drain pan
    • Torque wrench (optional but helpful)

    Materials:

    • New oil filter (make sure it’s Harley-compatible)
    • The right type of oil for your Harley (refer to your manual; typically, 20W-50 is common for most models)
    • O-rings (some models require new O-rings for the drain plug)
    • Gloves and rags for cleanup

    Pro Tip: Stick with Harley-approved oils like SYN3 or other high-quality motorcycle oils. These are formulated specifically for air-cooled engines like the ones in Harley Davidson motorcycles.

    Step-by-Step Harley Davidson Oil Change Instructions

    Now that you’ve got everything ready, let’s get down to business. Follow these steps to ensure a hassle-free oil change:

    Step 1: Warm Up Your Engine

    Simply start you bike and let it idle for 5 – 10 minutes. It warms the oil up so it's thinner and drains easier. When it’s warm, turn off the engine.

    Step 2: Prepare Your Bike and Drain Pan

    Put your bike on a flat, steady (like a jack stand, or motorcycle lift) surface. Most vehicles will have the oil drain pan underneath the drain plug on the bottom side of the oil pan.

    Step 3: Remove the Drain Plug

    With a socket wrench take off the drain plug and let old oil drain into the old oil drain pan. You’ve got to be patient, it can take a few minutes for all the oil to drain out. Look inside the drain plug to see if there’s shavings, signifying engine problems within.

    Step 4: Do a change of oil filter.

    Twisting the good oil filter, unscrew it with the oil filter wrench. Some oil will present itself from the bottom. Before installing the new filter, lube with fresh oil the rubber gasket on which it will sit, as the new filter should seal tight against it. Put on the new filter and don’t use a wrench—you’ll usually only need to hand tighten.

    Step 5: Install the Drain Plug

    Replace the drain plug once all the oil has been drained. If your Harley needs a new O ring for the plug then don’t forget to replace it. The plug tightens snuggly, but not too close to breaking off the threads.

    Step 6: Add Fresh Oil

    Most models have an oil fill port, funnel the listed amount (check owner’s manual for exact capacity) of oil in this port using a funnel. Instead, replace the oil cap when the container is filled.

    Step 7: Check Oil Level

    Start the engine and let it run for a minute, then turn it off and wait a moment for the oil to settle. Use the dipstick to check the oil level and add more if necessary.

    Step 8: Dispose of Old Oil Properly

    Pour the used oil and filter into a sealed container and take it to a local recycling center or auto parts store that accepts used oil. Whatever you do, don’t dump it in the trash or down the drain—it’s harmful to the environment!

    Pro Tips for a Flawless Oil Change

    1. Don’t Skip the Warm-Up: Cold oil is thicker and won’t drain as thoroughly.
    2. Double-Check for Leaks: After you’re done, inspect the drain plug and filter for leaks while the engine runs.
    3. Use High-Quality Products: Invest in good oil and filters. Cutting corners here could cost you more in the long run.
    4. Keep a Maintenance Log: Record the date and mileage of each oil change. This helps you stay on top of your bike’s maintenance schedule.

    How Often Should You Change Your Harley Davidson’s Oil?

    Check your owner’s manual for specific intervals and follow the guidelines to keep your engine in top shape.

    FAQs About Harley Davidson Oil Changes

    Q: Can I use car oil in my Harley Davidson?
    A: No! Car oil isn’t designed for motorcycle engines and could cause damage. Always use motorcycle-specific oil like SYN3 or similar high-quality products.

    Q: How much oil does a Harley Davidson need?
    A: It depends on the model, but most Harleys require around 3-4 quarts of oil. Check your owner’s manual for the exact capacity.

    Q: Do I need to change the primary and transmission oil, too?
    A: Yes! Harleys have separate systems for engine, primary, and transmission oils. Each should be changed regularly, though not always at the same time.


    Leave a comment

    Please note, comments must be approved before they are published

    This site is protected by hCaptcha and the hCaptcha Privacy Policy and Terms of Service apply.


    Harley Davidson Oil Change Guide: Step-by-Step Instructions